Erosion Control
Water management controlsCheck dams
What, Why, When and issues to look out for
What
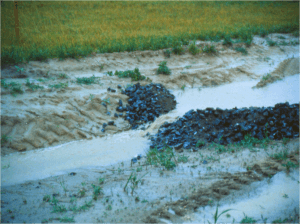
Check dams are small dams made of rock rip-rap or other non-erodible material constructed across a swale or channel to act as grade control structures. They temporarily pond the water and release it at a more controlled rate, by overtopping the dam.
Why
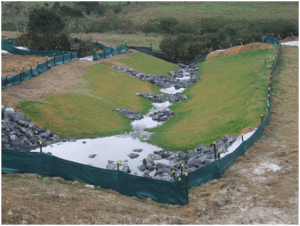
Check dams installed in series to act as a permanent water velocity control measure (Source: SouthernSkies).
Check dams reduce the velocity (speed) of concentrated water flows. They are often placed in series down the channel and used during construction to reduce invert scour in drains or channels that will be reworked, filled, grassed or otherwise stabilised.
Although they include an element of ponding, this phase is temporary and check dams are not intended to be a sediment retention practice.
When
Check dams are placed within temporary swales or channels that, because of their short length of service, may not be suitable for a non-erodible lining (eg geotextile), but still need some protection to reduce erosion.
They are used in either temporary or permanent swales or channels that need protecting while vegetative linings or other materials become established.
Issues to look out for
Check dams have the following limitations:
- The contributing catchments for a complete series of check dams should not exceed 1 ha for slopes less than 10%.
- If contributing catchments have a greater area or slope than this, specific engineering design is required.
- They may not work well on steep channel grades, as they would need to be closely spaced to achieve the design criteria.
- Check dams are water control measures only. They are not intended for trapping sediment.
- Channels will erode if the dams are too far apart (especially on highly erodible soils).
- Check dams can be time consuming to construct, especially on steep slopes where a greater frequency of dams per unit length is required.
- They may not be a suitable option to provide erosion protection when the soils are highly erodible.
- They should not be used within watercourses.
Design essentials
The following points are design essentials for the tool to work:
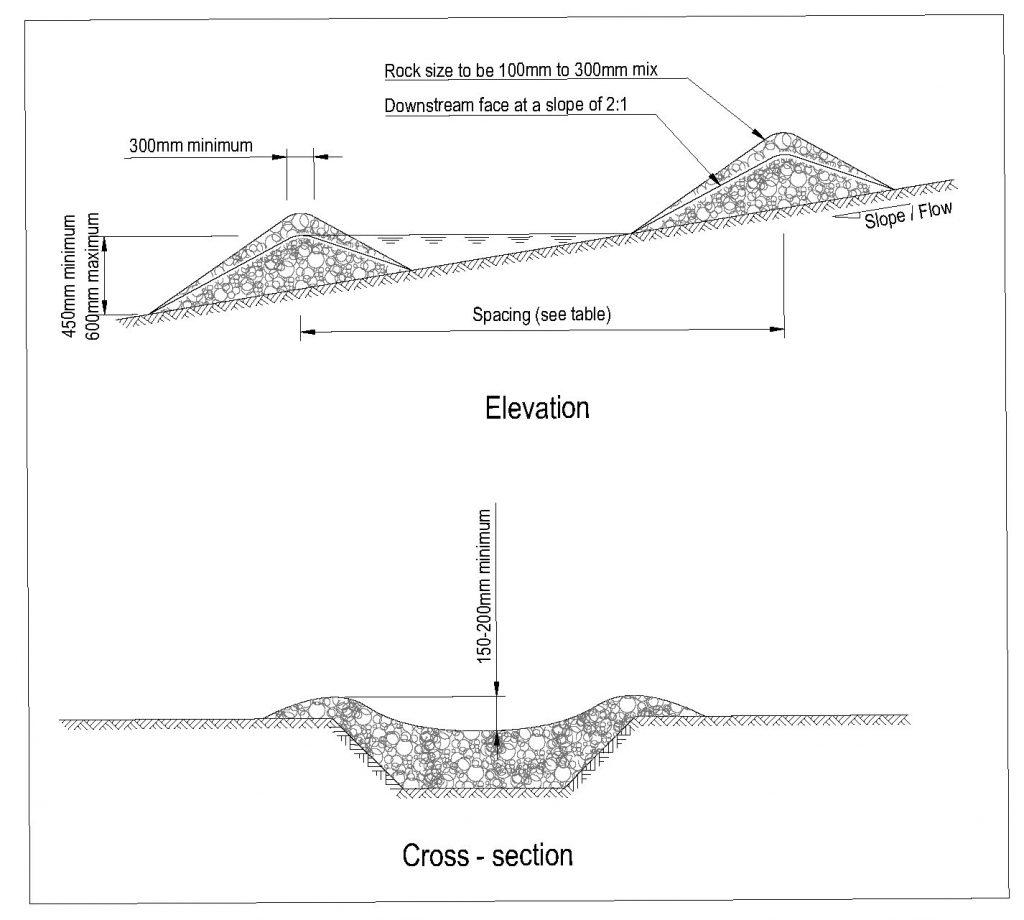
- The maximum height of a check dam depends on the depth of the drain into which it is being placed. In general, the centre height (spillway level) should be no higher than 600 mm.
- All check dams must incorporate a spillway to direct flows over the centre of the structure. The spillway elevation must be at least 150 mm to 200 mm lower than the crest of the structure.
- Place check dams so that the toe of the upstream dam is at the same elevation as the centre height (spillway level) of the downstream dam. Use the spacing between dams given in the rock check dam design.
- If you are working on highly erodible soils, put the check dams on a spray-on copolymer liner to minimise the chance of water undermining the structure. This will be more effective than using needle-punched geotextile fabric, which will still allow some erosion of soil below the fabric.
- Check dams can either be constructed with a 450 mm or a 600 mm centre height. Use Table 5 to determine the spacing of check dams for channel slopes within the indicated ranges. See the specifications in the rock check dam design.
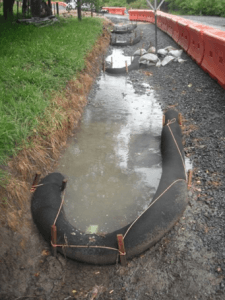
- Temporary check dams are usually constructed of loose rock (rip-rap) or sandbags. Silt socks can also be used in low gradient channels. However, they must be constructed of competent material so that they do not erode themselves, or cause additional erosion. They must also be secured to the channel to withstand flow forces.
| Slope of site | Spacing (m) between dams with a 450 mm centre height | Spacing (m) between dams with a 600 mm centre height |
|---|---|---|
| Less than 2% | 24 | 30 |
| 2–4% | 12 | 15 |
| 4–7% | 8 | 11 |
| 7–10% | 5 | 6 |
| 10% | Unsuitable—use stabilised channel or specific engineered design | Unsuitable—use stabilised channel or specific engineered design |
Construction and operation
When constructing and operating check dams
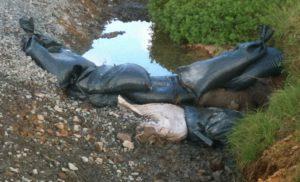
Check dams installed with a spillway to direct flows over the centre of the structure. Sand bags placed directly below spillway provide a protective apron below the dam (Source: SouthernSkies).
- Confirm the spacing and location of the dams in relation to the gradient of the drain or existing scour patterns.
- Start from the bottom and work up the drain or channel.
- Check that the invert of the drain or channel is stable above the top of the check dam.
- Construct the centre of the check dam 150–200 mm lower than the outside edges, to form a well- defined spillway.
- Verify the dam location and spillway depth with an automatic level or other suitable equipment such as a 3 m straight edge and a spirit level.
- Use loose rocks or extend sandbags approximately 300–400 mm away from the downstream toe of the dam to form a small protective apron below the spillway. This will armour the area below the dam when water runs over the spillway.
- If you are working on erodible soils, line the channel with spray-on copolymer.
- Make sure that the fabric used for sandbags is UV resistant.
- Extend the toe of the fabric dams at least 1 m upslope and then bury it in a 300 mm deep trench.
Maintenance and decommissioning
When maintaining check dams
- Repair or reinstate the check dams if destroyed by machinery movement.
- Inspect the check dams after rainfall or storms and repair as necessary.
- Check if water is outflanking the structures and look for scouring around the edges of the check dams. If there is scouring, increase the centre height (spillway height) and/or turn up the edges of the structures.
- If scour is happening between check dams then you may need to provide additional erosion resistant structures.
- Inspect check dams for sediment accumulation after each significant rain event. Remove the sediment before it reaches 40% of the original height.
When decommissioning check dams
- Remove check dams when no longer needed, and where possible, salvage all the materials to re-use in future works
- Do not remove check dams that are protecting grass-lined channels until a complete and sustainable cover has been achieved
- Areas disturbed by the removal process must be seeded, fertilised and protected with surface mulch or erosion-control matting if required.
